We are here to help you every step of the way

Wooden flooring is not a product that can be bought off the shelf and installed easily without understanding the guidelines and parameters that come with it. It is therefore important that all the stakeholders from architects and designers, builders and installers, and home owners receive the right consultation and guidance in this process.

How to Buy

Our team of experts work closely with architects and designers, builders and installers, and home owners and give them consultation and tips on how to choose the best species and type of wood according to their requirements.
With over 10 years of experience in the industry, we have worked closely with architects, designers and contractors on multiple projects. As manufacturers, we help you meet the requirements, keeping in mind the budget of your project. The expertise we’ve gained over the years helps us work smarter through careful planning and intelligent manufacturing processes, thereby helping you save money by cutting costs. We have in-house consultants who will counsel you on flooring suggestions depending on the nature of your project. Since our wood is sourced and finished in-house, our turnaround time is much lesser compared to our counterparts. This comes in handy when additional flooring is required around a tight time frame. Additionally, we also help architects and designers produce a full NBS specification which will include instructions on fitting and other relevant technical instructions to ensure a hassle-free installation process.

When it comes to wooden flooring, there are certain guidelines for installation and maintenance which the builder and installer has to be aware of. Wood flooring by design is not meant to be used to strengthen a sub-floor, and if heavy movement, dragging and rubbing of dirt can cause damage to the surface of the wood. This is why wood flooring should be one of the last jobs to be completed in a project.

The flooring has to be installed at a time when the humidity and other water conditions are ideal. Various other factors like the drainage system, weather conditions of the place, etc. have to also be kept in mind while installing the floor. This requires specific expertise in understanding the nature of wood. Our professional and knowledgeable consultants work in close conjunctions with builders and installers to make sure that he wooden flooring installed complies with all the guidelines and consultation is provided at every step as needed.

Choosing to install wood flooring in your house is a big decision. Not only does wooden flooring add to the aesthetic value of your house, but is also increases the home’s overall value.

While installing wooden flooring in a house, we consult with the homeowners and take them through the process of keeping their floors beautiful and in good condition.

Some of the tips for maintaining their wooden flooring for home owners are

  • Clean spills and wipe moisture immediately.
  • Avoid the usage of detergents and soap as it may affect the finish
  • Always sweep the floor instead of mopping
  • Use rubber pads on the legs of your furniture to prevent scratches
  • Use a vacuum cleaner to remove dust
  • Place door mats outside bathroom doors and kitchens to ensure that the wooden flooring doesn’t get wet

How to Install

Wood flooring is amongst the easiest types of flooring to install. It includes measurement of the floor, preparation of the floor and finally, installing the wooden floor.

MEASUREMENT

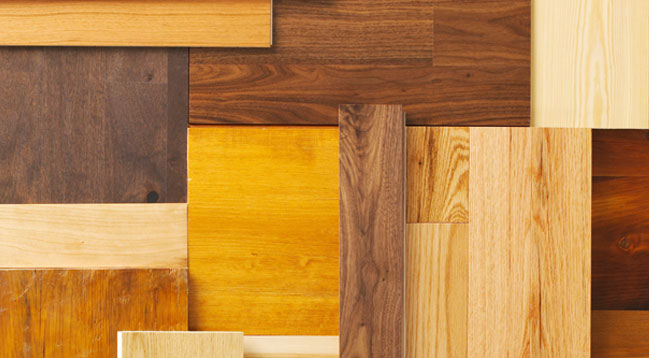
Measure the width and length of the room and multiply for the square footage. When ordering hardwood flooring, allow 5- 10 percent extra for irregular boards and any leftover stocks.

PREPARE YOUR FLOOR

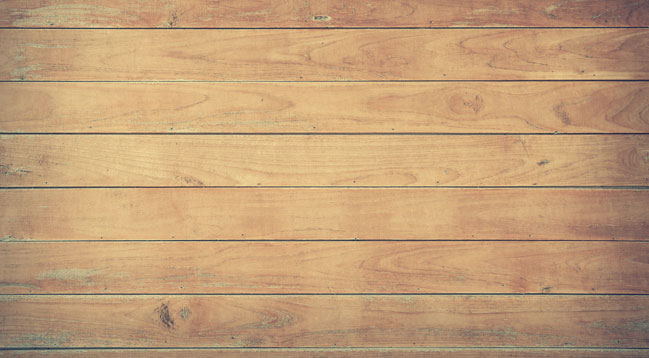
The key to installing high quality and durable flooring is proper preparation. Successful subfloor preparation for installing wood flooring is about two things: dryness and flatness New wood flooring should be laid on a clean, smooth, level, structurally sound base. It’s critical to get the moisture content numbers in line with those of the flooring to be installed. The subfloor also needs to be spec free, structurally sound, flat, and free of old fasteners from previous floor coverings. It is crucial to get the quality of the sub-floor in place to ensure that the wooden flooring on top of it also performs as desired.

FINISH INSTALLATION

Start the installation at the longest unobstructed wall. Remove the shoe molding, and snap a chalk line 3/8" out from the baseboard. This allows for expansion in hot, humid weather, and contraction in cold, dry weather.
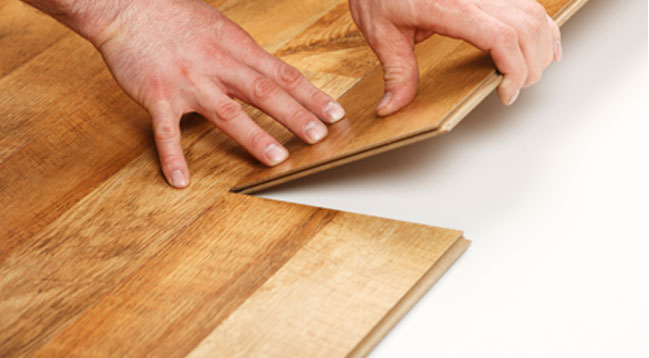
Place the Boards
Begin by selecting a long board to start the first row. Pick one that is straight. Align the edge of the board with the chalk line.

Hand-Nail / Staple down (In case of Nail down installation)
After the first few rows have been installed, drill pilot holes down into the tongue of each board and hand-nail the rolls until there is enough clearance for the pneumatic nail gun. Or, using the pneumatic nail gun, staple the board by striking firmly with the mallet, driving the staple into the tongue of the hardwood plank.

Cutting the Baseboard
When cutting along the baseboards, select a piece that will fit in there and leave 10 or 12 inches more and cut it off. Use the other piece on the beginning of the next row.

Fill in the Gaps
Be aware of the way the ends fit together. One end has a tongue and the other end has a groove. This is called end matched. Make sure to always cut the wall end of the wood so that you do not cut off the groove that fits to the tongue. If that happens, that would result in a pretty big gap. Find a piece and lay it alongside the hole and flip it over. Make sure when you make the mark to cut off the wall side, not the room side. When you make the mark, butt it up against the baseboard and then mark at the end of that tongue.

Work Around Clearance Issue
As you approach the opposite wall, there will be limited clearance for the pneumatic gun. Drill pilot holes and hand-nail the boards until there is no longer clearance for the drill and hammer. At that point, drill pilot holes down into the top of the boards and face-nail the boards, remembering to set the nails with a nail-set. (in case of nail / staple down installation)

Fit Last Board Into Place.
If there's a narrow gap for the last board, take a measurement and rip (cut length-wise) the last board to fit into place. Remember to leave a 3/8 inch gap at the end wall for expansion and contraction space.

How to Maintain

Once the flooring is installed, the next, and most important step to ensure that the flooring lasts for decades to come, is maintenance.

CLEANING

While cleaning, ensure that the wood comes in contact with as little water as possible. It is highly suggested that vacuum cleaners be used for removing dust. Smaller particles can be removed with a broom or dry cloth.

Some of the tips for maintaining their wooden flooring for home owners are

  • Clean spills and wipe moisture immediately.
  • Avoid the usage of detergents and soap as it may affect the finish
  • Always sweep the floor instead of mopping
  • Use rubber pads on the legs of your furniture to prevent scratches
  • Use a vacuum cleaner to remove dust
  • Place door mats outside bathroom doors and kitchens to ensure that the wooden flooring doesn’t get wet

SIMPLE REPAIR

Touch-up kits and pre-mixed wood fillers that match the colour and finish of the floor can help to eliminate scratches and abrasions. If the damage is serious, it is best to replace the wood.